Zapier Integration Task
If a Native App integration is not available in NileDesk, you can still connect with thousands of apps using Zapier — all without writing any code. NileDesk sends your workflow data to Zapier, and Zapier then forwards it to your chosen applications. This enables you to automate multi-step tasks across platforms with ease.
a. Add Zapier Task in NileDesk
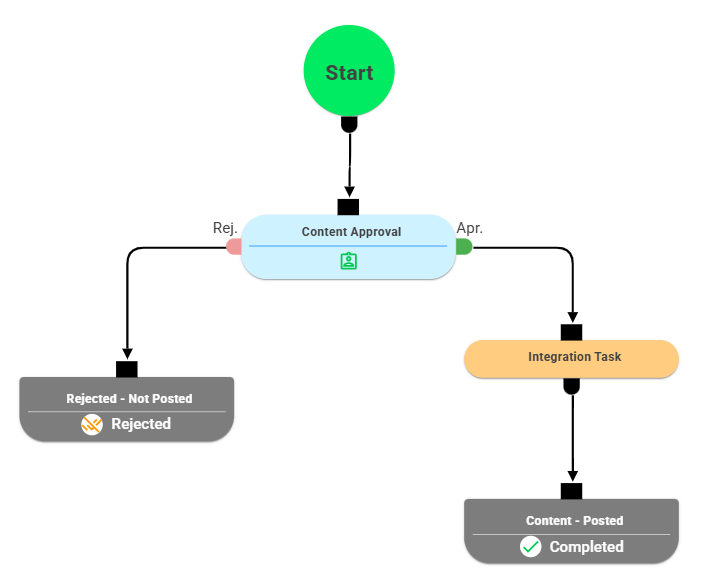
Place a Zapier Integration Task in your process diagram where you want the automation to execute. The task can run unconditionally or only under specific conditions that you configure.
- Add an Integration Task in your Process Flow Designer.
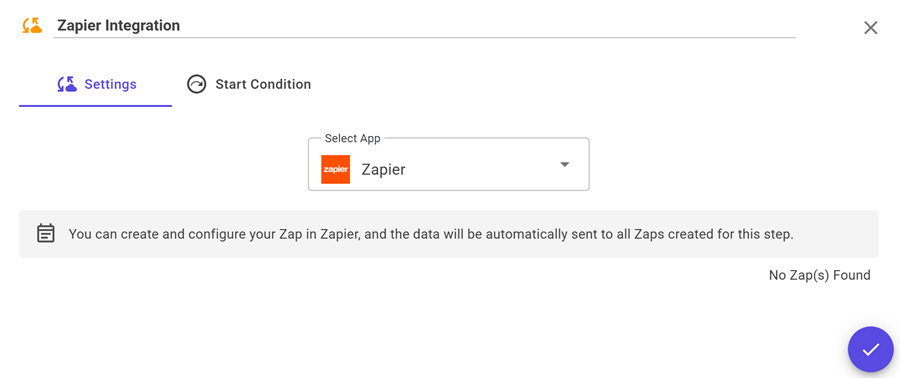
- Select Zapier from the integration dropdown and save the Task.
- Log in to Zapier and create a new Zap.
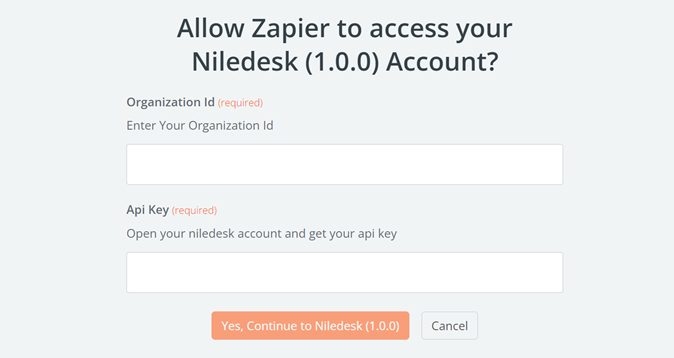
- Choose NileDesk as the Trigger App and authenticate using your API Key and Organization ID.
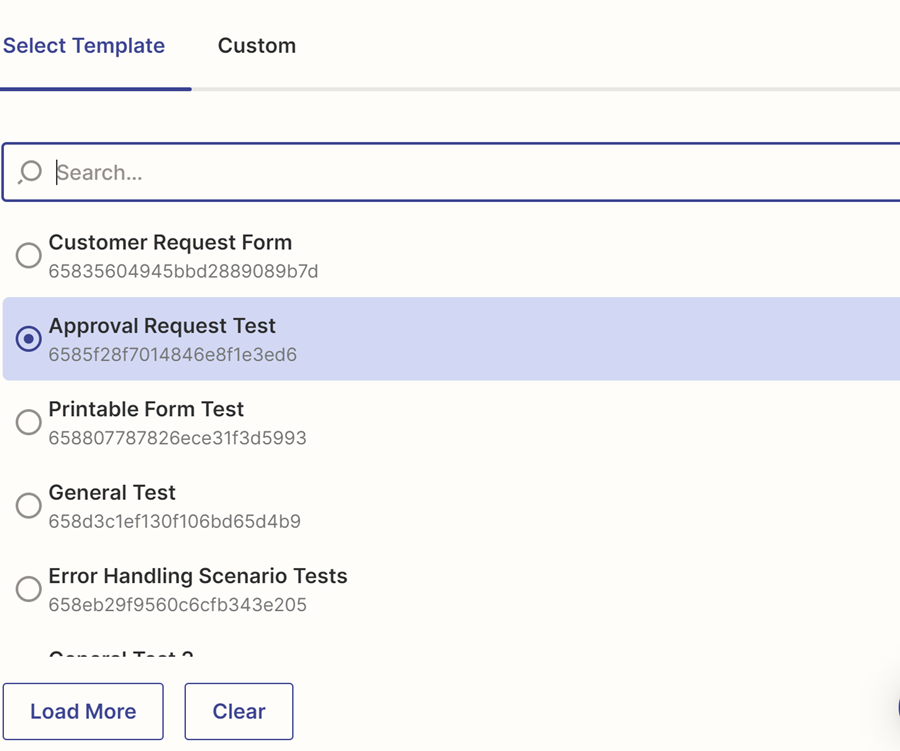
- Select the Template and Integration Task that you created in NileDesk.
- Add the relevant third-party app (e.g., Google Sheets, Trello, Gmail) as the Action in Zapier.
When the task executes, NileDesk sends the selected process data to Zapier (if a Zap is linked to that template). From there, Zapier carries out the automation with the connected app.
b. Create a Zap in Zapier
To connect your NileDesk workflow with another application, create a Zap in Zapier:
- Log in to your Zapier account (or sign up at zapier.com).
- Click Make a Zap.
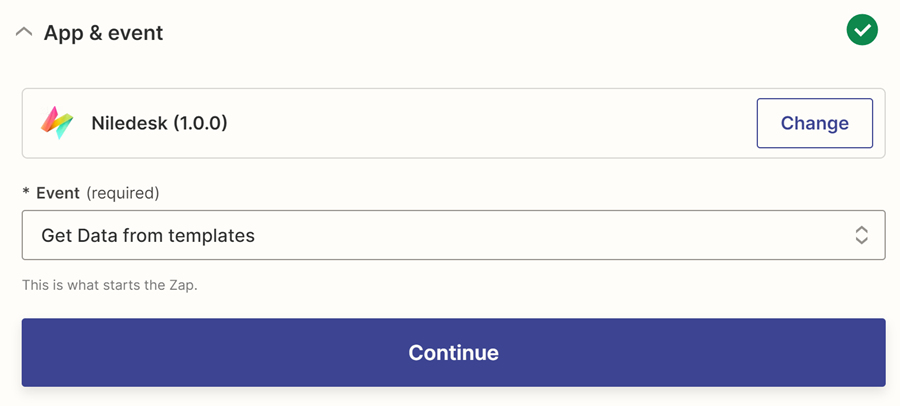
- Search for NileDesk and set it as the Trigger App.
- Choose the trigger event that matches your workflow (e.g., Integration Task Trigger).
- Connect your NileDesk account using Organization ID and API Key.
- Select the template and Integration Task you configured in NileDesk.
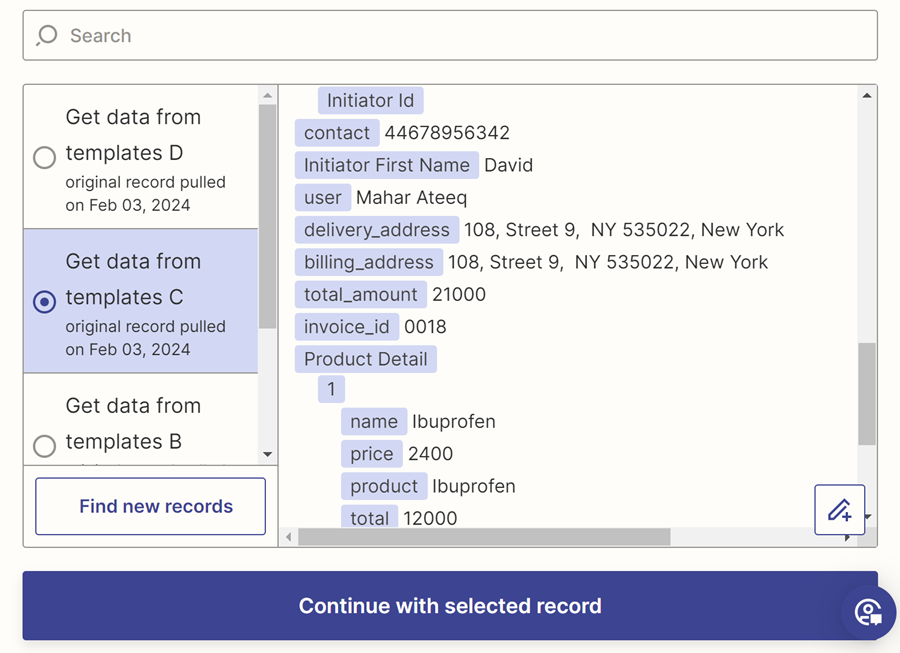
- Test the trigger — Zapier will fetch sample data from NileDesk fields so you can preview it.
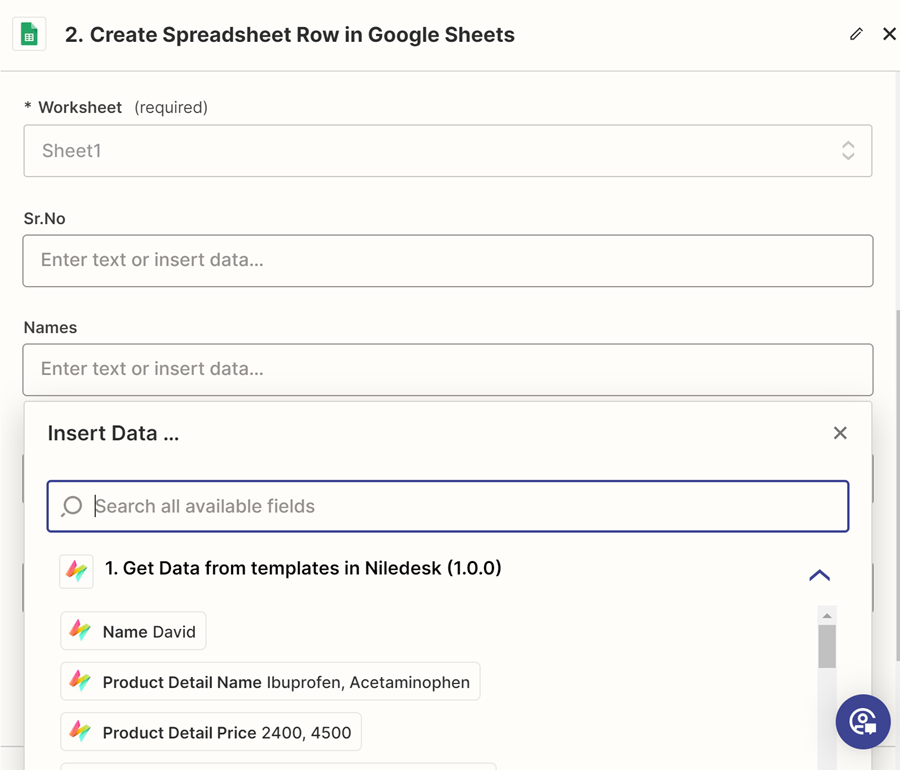
- Pick an Action App (e.g., Google Sheets, Slack, Mailchimp) and configure the action.
- Map NileDesk fields to the action app fields (text, numbers, dates, etc.).
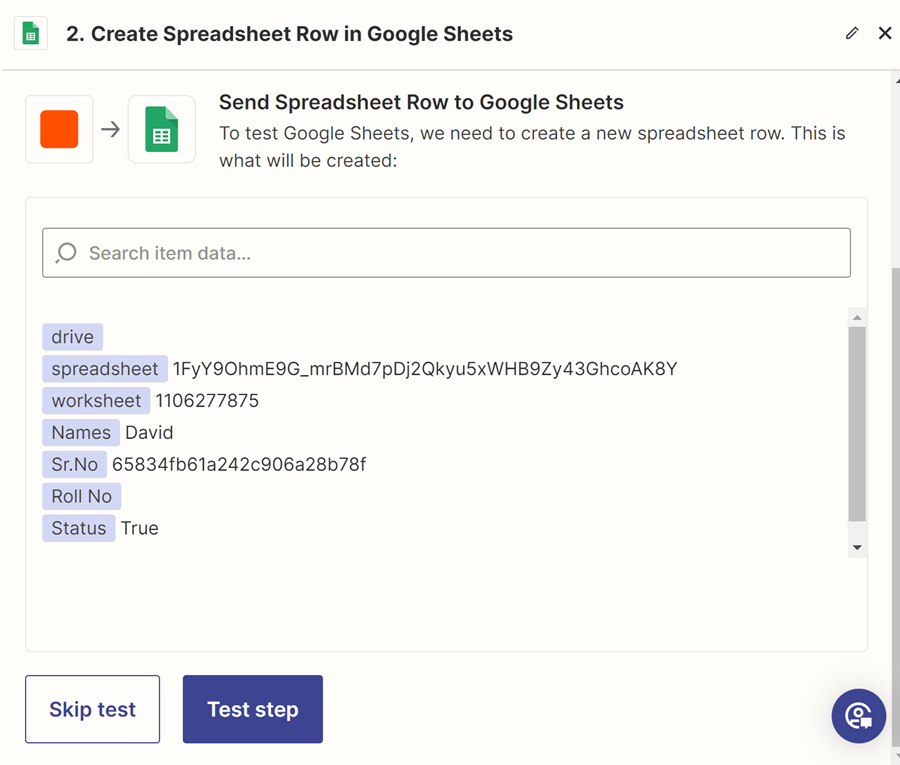
- Test the action. If it works as expected, click Publish (or Turn on Zap).
- Your Zap will now run automatically whenever the Integration Task executes in NileDesk. You can attach multiple Zaps to the same template to handle different automation needs.
c. Get Your NileDesk API Key
To connect NileDesk with Zapier, you’ll need your API Key:
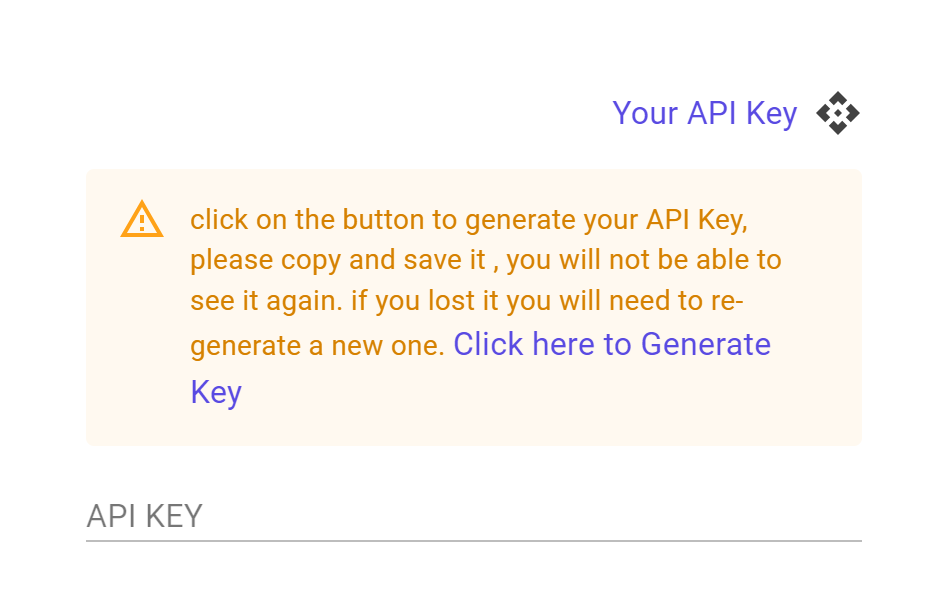
Open your User Profile, click Generate Key if one does not already exist, and copy the API Key to use in Zapier. This is required every time you connect NileDesk with a Zap.
Notes & Troubleshooting
- No sample data? Run the process once in NileDesk, then re-test the trigger in Zapier.
- Authentication error? Verify that the Organization ID and API Key are correct. Also check if the API key has expired or was rotated.
- Field mapping mismatch? Ensure field types match between NileDesk (text, number, date) and the action app fields.
- Multiple Zaps? Yes — a single NileDesk template can connect to multiple Zaps, each handling separate actions like notifications, data entry, or reporting.
Tip: Keep a dedicated test record in NileDesk for quickly testing and mapping fields in Zapier. This makes it easier to confirm data flows correctly before going live.